
7 Safari Photography Mistakes Beginners Make (And How to Fix Them)
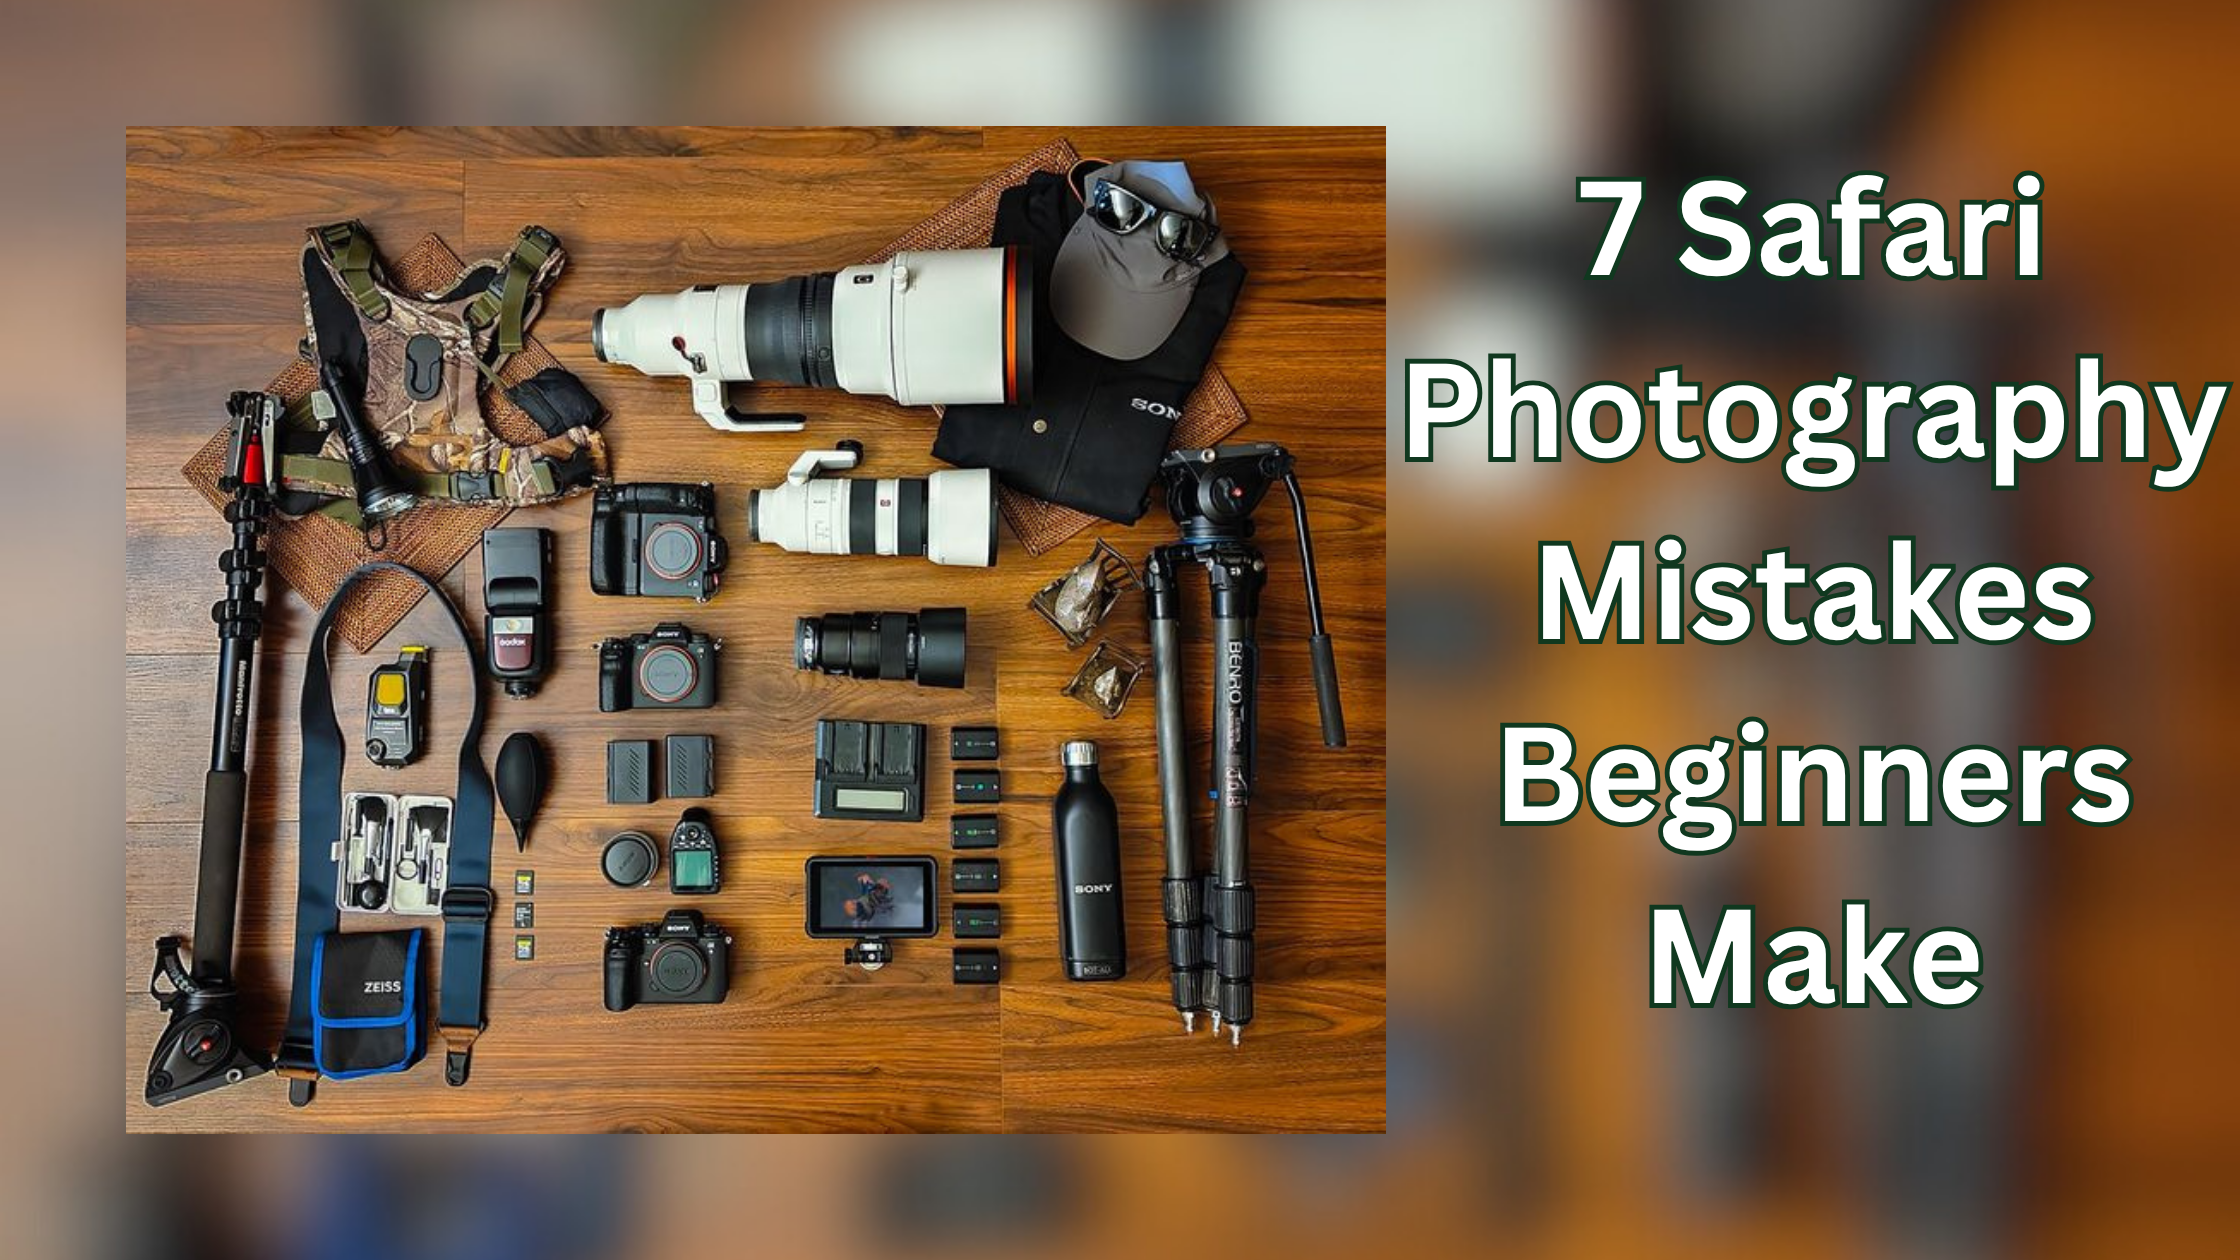
Start Your Safari With the Right Photography Foundation
Kwezi Adventures designs private safaris for travellers who want to capture Africa’s wildlife properly. Tell us your camera goals →
Introduction
You have booked your African safari. You have packed your camera gear. You imagine returning home with stunning images of lions at sunrise and elephants crossing golden plains.
Then reality hits.
The animal moves faster than your camera can focus. The light shifts from beautiful to harsh in minutes. You look at the back of your camera and see blurry, flat, or poorly framed shots.
This scenario happens to almost every beginner. Wildlife photography on safari is fundamentally different from taking pictures at home, in parks, or in zoos. Animals move unpredictably. Light changes rapidly. Dust and heat affect your equipment. Your behaviour directly impacts wildlife safety.
But here is the good news. The mistakes beginners make are predictable and avoidable. This guide covers seven of the most common errors and shows you exactly how to fix each one.
The information comes from professional wildlife photographers, field research, and our experience guiding travellers through East Africa’s parks.
Quick Reference: 7 Safari Photography Mistakes to Avoid
| Mistake | The Problem | The Fix |
|---|---|---|
| Being unprepared for action | Missing shots while fiddling with settings | Pre-set action mode before leaving camp |
| Shooting only in JPEG | No flexibility to fix exposure later | Shoot RAW for shadow and highlight recovery |
| Chimping (checking every shot) | Missing the animal’s next move | Keep your eye on the viewfinder |
| Relying on tripods | Engine vibration ruins sharpness | Use a beanbag on the vehicle door |
| Cropping too tight | Cutting off paws, tails, ears | Leave breathing room in the frame |
| Changing lenses on the move | Dust on your sensor ruins images | Use two camera bodies or a versatile zoom |
| Forgetting about the light | Harsh midday shadows | Shoot during golden hour |
1. Being Unprepared for Action Mode
The Problem
You see a lioness crouching in the grass. You raise your camera. Nothing happens. The autofocus hunts. The shutter speed is too slow. By the time you adjust your settings, the lion has already started her charge. You missed the shot.
This happens because many beginners pack their camera away when the vehicle moves, or they leave settings from yesterday’s sunset shoot still active. Wildlife does not wait while you scroll through menus.
Animals can appear suddenly. A leopard crossing the road. A cheetah spotting prey. An eagle taking flight. These moments last seconds.
The Fix
Keep your camera ready at all times. Leave your camera resting on a beanbag on the vehicle door with action settings already dialled in. Before you leave camp each morning, ensure your lenses are mounted, batteries charged, memory cards empty, and settings adjusted for the light. Take a quick test shot before departing.
For your default action settings:
Shutter speed at least 1/1000 of a second for moving animals. This freezes running animals, flying birds, and any fast motion in the wild.
Continuous autofocus (AF-C or AI Servo mode). This keeps tracking the animal as it moves.
Auto ISO. Let the camera adjust sensitivity as light changes. A strong starting point is Manual mode with Auto ISO. You choose shutter speed and aperture; the camera adjusts ISO as the light shifts between open plains, shade, and riverbanks.
High-speed continuous shooting mode. Hold the shutter button down to capture multiple frames per second.
One simple rule: a slightly noisy image is better than a blurred one.
2. Shooting Only in JPEG
The Problem
You look at the back of your camera. The image looks flat, dull, and nothing like what you saw with your eyes. You assume the shot is ruined.
This is not a problem with your camera. This is a problem with JPEG files.
JPEGs are processed inside your camera. The camera makes decisions about colour, contrast, and sharpness and then discards the original data. When you try to brighten shadows or recover blown-out highlights in editing software, the information is gone.
The Fix
Shoot in RAW format.
RAW files contain all the data captured by your camera’s sensor. They look flat straight out of the camera because no processing has been applied. But that flatness is the point. RAW gives you the flexibility to recover details from dark shadows and bright skies during post-processing.
On safari, light conditions vary wildly. One moment, you are shooting a zebra in bright sunlight. Next, you are tracking a leopard in deep shade. RAW files give you the latitude to fix exposure mistakes and bring back details that would be permanently lost in JPEG.
White balance matters less when you shoot RAW. Auto White Balance works well for most safari situations, and RAW gives you room to adjust later.
The only downsides to RAW are larger file sizes and the need for editing software. Bring extra memory cards and allow time after your trip for post-processing.
3. Chimping (Looking at the LCD After Every Shot)
The Problem
You photograph a lion walking toward the vehicle. You immediately lower your camera to look at the LCD screen. You smile at the image. Then you look up. The lion has turned away, and you missed the better shot.
This habit is called "chimping", and it costs you the best moments.
Wildlife actions unfold in sequences. A lion does not walk, then stop, then walk again. It walks continuously. A bird does not take off, then hover, then fly away. It moves in a single arc. The moment you look away from the viewfinder, you lose the ability to follow the action.
The Fix
Keep your eye on the viewfinder or your camera’s electronic viewfinder throughout the action sequence.
Train yourself to review images only when:
The animal has moved out of sight.
The vehicle has moved to a new location.
You are back at camp.
Professional wildlife photographers often shoot hundreds of frames of a single scene. They will review later. They trust their settings and their instincts.
If you absolutely must check exposure, take a glance between action bursts. Then immediately return your eye to the viewfinder.
4. Relying on Tripods
The Problem
You set up a standard tripod on the safari vehicle. You mount your camera. You start shooting. Your images are still blurry.
Standard tripods do not work well on safari vehicles. The engine creates constant vibration. The vehicle moves slightly on its suspension. Other passengers shift in their seats. All of this vibration transfers directly from the vehicle through the tripod legs to your camera.
The Fix
Use a beanbag on the vehicle door or window sill.
A beanbag absorbs vibration. It conforms to the shape of the door frame or window ledge. It keeps your camera stable while allowing quick repositioning.
Place the beanbag on the door edge or the windowsill. Rest your camera or lens on top. For long telephoto lenses, support the lens barrel directly on the beanbag rather than on the camera body.
If you do not have a beanbag, roll up a fleece jacket or use a small pillow. Many safari lodges provide beanbags for photography.
Professional wildlife photographers who shoot from vehicles rarely use tripods. They use beanbags or monopod-like window mounts. These are simple, effective, and affordable.
5. Cropping Too Tightly (Cutting Off Paws and Tails)
The Problem
You zoom in as close as possible to a resting lion. You fill the frame with its face. Then the lion stands up and stretches. In your excitement, you keep shooting. Later, you realise you have cut off the lion’s paws and tail.
This is a very common mistake for beginning wildlife photographers. When armed with a long telephoto zoom, it is natural to want to fill the frame with the animal. But animals move, and your tight composition does not allow for that movement.
Cutting off paws, tails, ears, or hooves ruins otherwise good images. The viewer’s eye notices the missing body part before appreciating the rest of the frame.
The Fix
Give your subject breathing room in the frame.
Zoom out slightly. Leave space around the animal. If the animal is looking left, frame it on the right side of the image, looking into the space on the left. If it is looking right, place it on the left side.
For a standing animal, ensure the entire body, including all four feet, fits in the frame. For a resting animal, include the whole animal or crop intentionally for a portrait headshot. Avoid partial crops where the decision to cut off a body part looks accidental.
A shot with a bit of the surrounding environment often tells a more compelling visual story than a tight headshot. The environment provides context about where the animal lives.
When in doubt, zoom out. You can always crop tighter later. You cannot add back the paw you cut off.
6. Changing Lenses on the Move
The Problem
You see a distant elephant herd. You have a 70-200mm lens mounted. You want more reach. You change to your 400mm lens while the vehicle is driving over bumpy terrain. Dust swirls around you.
This is a recipe for disaster.
Dust is everywhere on safari, especially during the dry season. Changing lenses exposes your camera sensor to that dust. One grain of dust on your sensor creates a spot visible in every single image you take for the rest of the trip.
The vibration from the moving vehicle can also cause lens and camera components to collide, potentially damaging both.
The Fix
Avoid changing lenses on game drives altogether.
The best solution is to bring two camera bodies. Mount a wide-to-telephoto zoom (like a 24-105mm) on one body and a longer telephoto (like a 100-400mm or 150-600mm) on the other. Keep both around your neck or on the seat beside you. Switch bodies instead of switching lenses.
If you cannot bring two bodies, choose a versatile telephoto zoom that covers most situations. A 100-400 mm lens is one of the most flexible options for a safari. It handles everything from elephant portraits at close range to distant predators. A 70-200mm lens is excellent when animals come very close to the vehicle.
If you must change lenses, do it inside the vehicle with windows closed and engine off. Use a clean cloth to wipe the lens mount area before exposing the sensor. Work quickly and keep the camera body pointed downward to minimise dust entry.
Always pack a camera and lens cleaning kit. Remove dust from your equipment each time you return to camp.
7. Forgetting About the Light
The Problem
You spend the middle of the day on a game drive. The sun is directly overhead. The light is harsh and flat. Your images have dark shadows under animal eyes and washed-out highlights on their backs. Nothing looks as good as you remember.
Midday sunlight is the enemy of good wildlife photography. It creates unflattering shadows. It washes out colours. It makes animals look hot and uncomfortable because, well, they are.
The Fix
Maximise your shooting during golden hour.
Golden hour is the period just after sunrise and just before sunset. The sun sits low on the horizon. The light passes through more atmosphere, softening it and casting a warm, golden glow. Shadows are long and soft rather than harsh and dark. Colours appear richer. Wildlife is also more active during these cooler hours.
Plan your game drives around these windows. Most safari itineraries include a morning drive from approximately 6:30 AM to 9:30 AM and an afternoon drive from 4:00 PM to 6:30 PM. This is not arbitrary. These hours are designed to capture the best light.
Do not chase every animal without asking what the light is doing. If you chase a leopard, lion, or elephant into ugly midday patches, you end up with flat, harsh files that never feel as magical as the sighting did.
If you are on a drive during midday, look for animals in shade, focus on behaviour rather than portraits, or use the time to photograph landscapes, birds in flight against a bright sky, or small creatures.
Pay attention to the light direction. Request that your driver position the vehicle so you are shooting from the side of the animal that faces the sun. This puts light on the animal’s face rather than on the shadow.
Putting It All Together
Avoiding these seven safari photography mistakes will significantly improve the quality of your wildlife images. But there is one more factor that matters more than any camera setting.
Patience.
Wildlife operates on its own schedule. The best images come to those who wait, who watch, and who anticipate behaviour rather than react to it. Instead of spraying frames at every movement, learn the rhythms of the animals you are watching. With that knowledge, you arrive early, choose your background, and wait for the exact sequence you want instead of chasing it.
People Also Ask About Safari Photography Mistakes
Q: What shutter speed should I use for moving animals on safari?
A: Use a shutter speed of at least 1/1000 of a second for running animals, flying birds, or any fast motion. For slower-moving subjects like grazing zebras, 1/500 may be sufficient. In low light, prioritise a sharp image over noise. A slightly noisy image is better than a blurred one.
Q: Should I shoot in RAW or JPEG for safari photography?
A: Shoot in RAW. RAW files give you the flexibility to recover details from dark shadows and bright skies during editing. JPEGs are processed in-camera and discard the original data that you may need later. RAW allows you to fix exposure mistakes and colour balance issues after your trip.
Q: What is the best way to stabilise my camera on a safari vehicle?
A: Use a beanbag on the vehicle door or window sill. Beanbags absorb engine vibration and conform to the shape of the door frame. Standard tripods transfer vehicle movement to your camera and are not recommended for vehicle-based photography.
Q: Can I use a smartphone for safari photography?
A: You can, but with limitations. Smartphones lack optical zoom, so distant animals will appear as specks. Avoid digital zoom, which simply enlarges pixels and creates grainy, low-quality images. For best results with a phone, focus on close subjects, landscape shots, and video.
Q: How many memory cards should I bring for a week-long safari?
A: Bring at least double what you think you need. A good rule is 128GB for every three days of shooting, shooting RAW. Spread your images across multiple smaller cards rather than storing everything on one large card. If one card fails, you only lose one day’s photos.
Q: Is it safe to change lenses on safari?
A: Avoid changing lenses in dusty conditions. Dust on your sensor will appear in every subsequent image. If you must change lenses, do it inside the vehicle with windows closed and the engine off. Work quickly with the camera body pointed downward. Two camera bodies with different lenses mounted are the safest approach.
Q: What focal length lens do I need for safari photography?
A: A 100-400mm or 70-300mm zoom is the most versatile choice for most safari situations. A 70-200mm lens works well when animals come close. For dedicated bird photography, consider 150-600mm. Also, bring a wide-angle lens for landscapes and animal-in-environment shots.
Q: What is golden hour, and why does it matter for safari photography?
A: Golden hour is the period just after sunrise and just before sunset. The sun sits low on the horizon, producing soft, warm light with long shadows. Colours appear richer, and animals are more active during these cooler hours. Most safari drives are scheduled around these windows for good reason.
Q: How can Kwezi Adventures help with safari photography?
A: Kwezi Adventures designs private safaris for photographers. We work with guides who understand animal behaviour and can position vehicles for optimal light and angles. We can recommend photography-friendly lodges and arrange extended stays in prime wildlife areas. Contact us for a photography-focused safari →
Your safari photography starts here.
These seven mistakes are the most common reasons beginners return from safari with disappointing images. But they are also the easiest to fix.
Set your camera to action mode before leaving camp. Shoot RAW. Keep your eye on the viewfinder. Use a beanbag. Leave breathing room in your frame. Avoid changing lenses in the dust. Chase light, not just animals.
Do these things, and you will return home with images that capture the wild heart of Africa.
Kwezi Adventures has been guiding photographers through East Africa for over a decade. We know where the light falls best. We know which guides position vehicles for optimal angles. We know which camps offer the best access to wildlife during golden hour.
Ready to capture Africa on your terms?
Contact Kwezi Adventures today. Tell us your photography goals. We will design a private safari that puts you in the right place at the right time. Your frame-worthy shots are waiting.
